How to draw a Diamond from Minecraft
In this simple tutorial, you will learn how to draw a diamond from Minecraft.
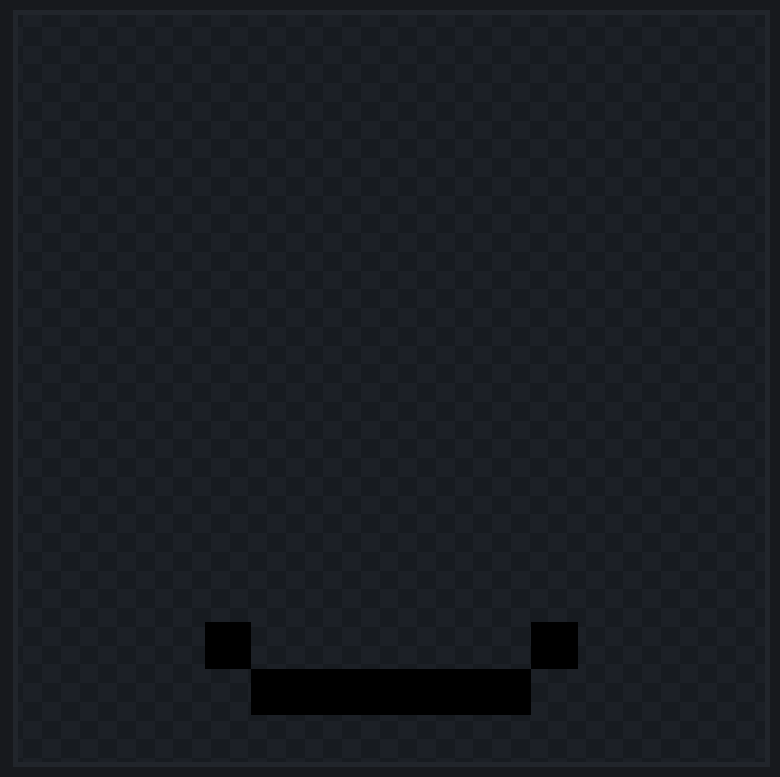
Step 1

Start out by putting 6 pixels centered at the bottom of your canvas and 1 pixel above the bottom of your border.
Step 2
place 1 pixel on either side of your middle 6 pixels, 1 pixel above it.
step 3

Place 2 pixels vertically, 1 pixel upwards and 1 pixel towards the border, on the sides of the previous 2 pixels you have placed.
step 4

step 5

Going inwards 1 pixel and up 1 pixel, place 2 vertical pixels on both of the previously placed 4 pixels.
step 6
Again, inwards and up 1 pixel, place 1 pixel on each of the previously placed pixels
step 7
Again, inwards and upwards 1 pixel, placing 1 pixel on both of the previously placed pixels.
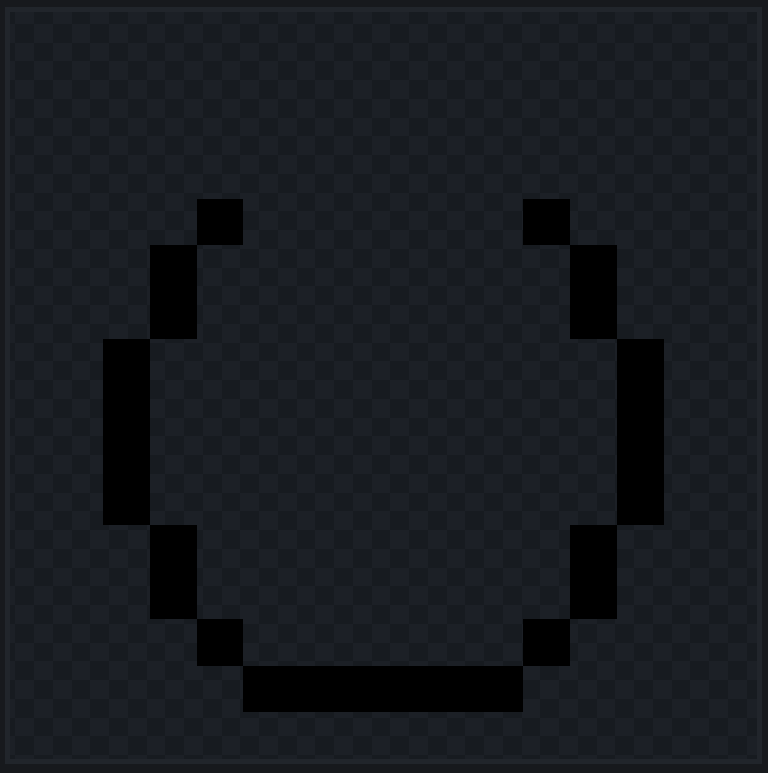
step 8

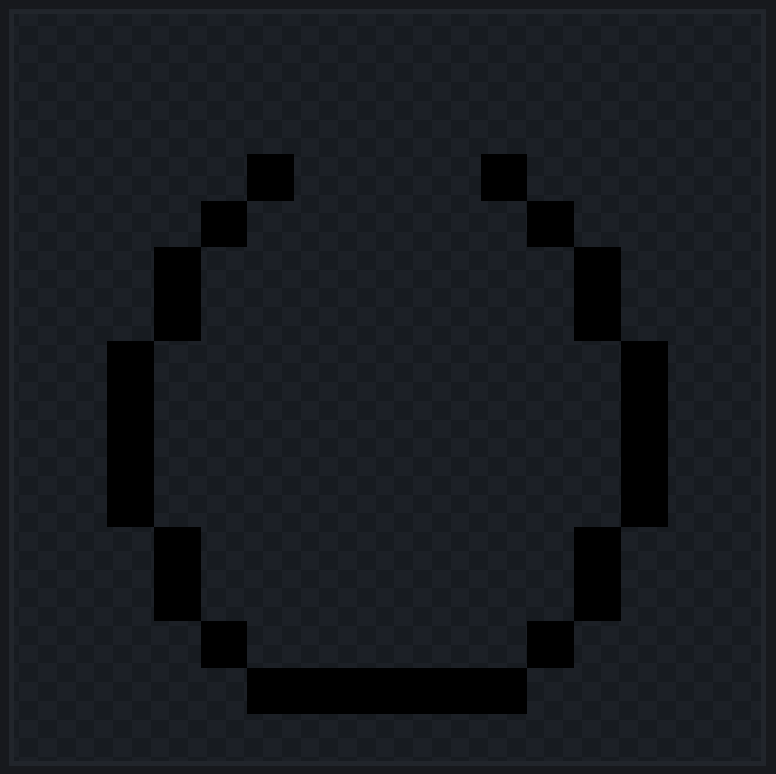
Finish off the outside by putting 4 pixels across the middle 1 pixel above the previous pixels.
Part 2: Texturing
When texturing your diamond, you can use any colors, patterns, shading, etc. This tutorial is designed for you to personalize your diamonds in Minecraft.
Step 9
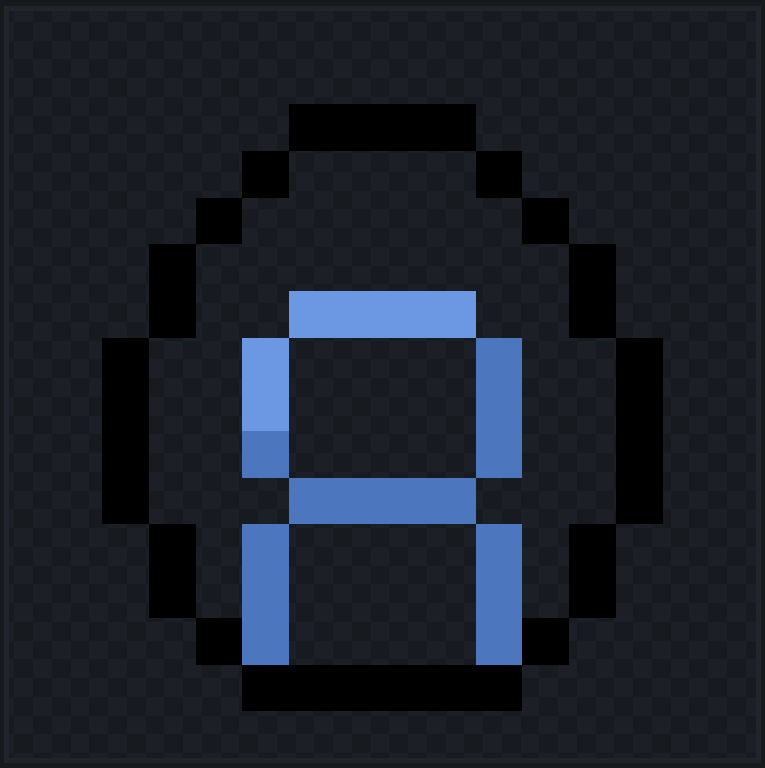
Start texturing by putting 3 vertical pixels on the edges of the base 6 pixels of your diamonds. Follow that by 4 pixels in the middle of the canvas, 1 pixel above your 2 lines. Then, repeat that process 1 pixel above the top of the design.
step 10
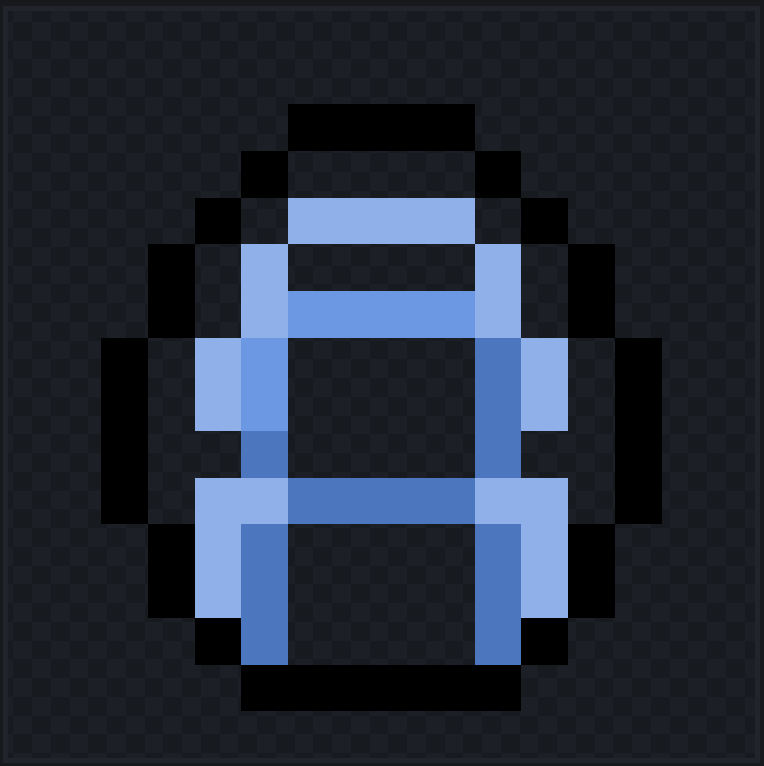
Follow this by adding a harder pattern around your previous pixels. Follow the photo to place your pixels.
step 11

Fill in the outer gaps of your diamond with a lighter color.
step 12
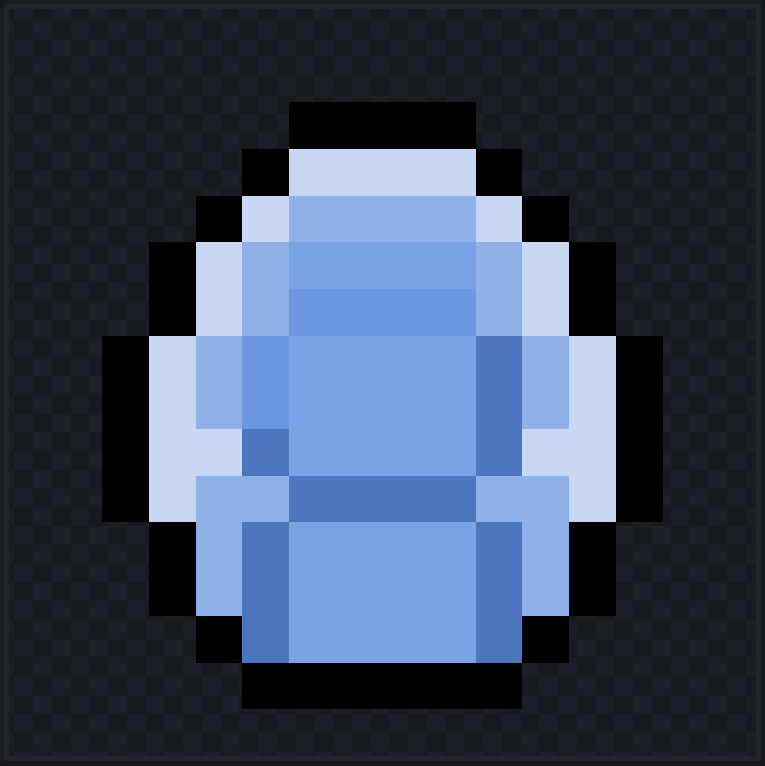
Fill in the other gaps with a light color.
step 13

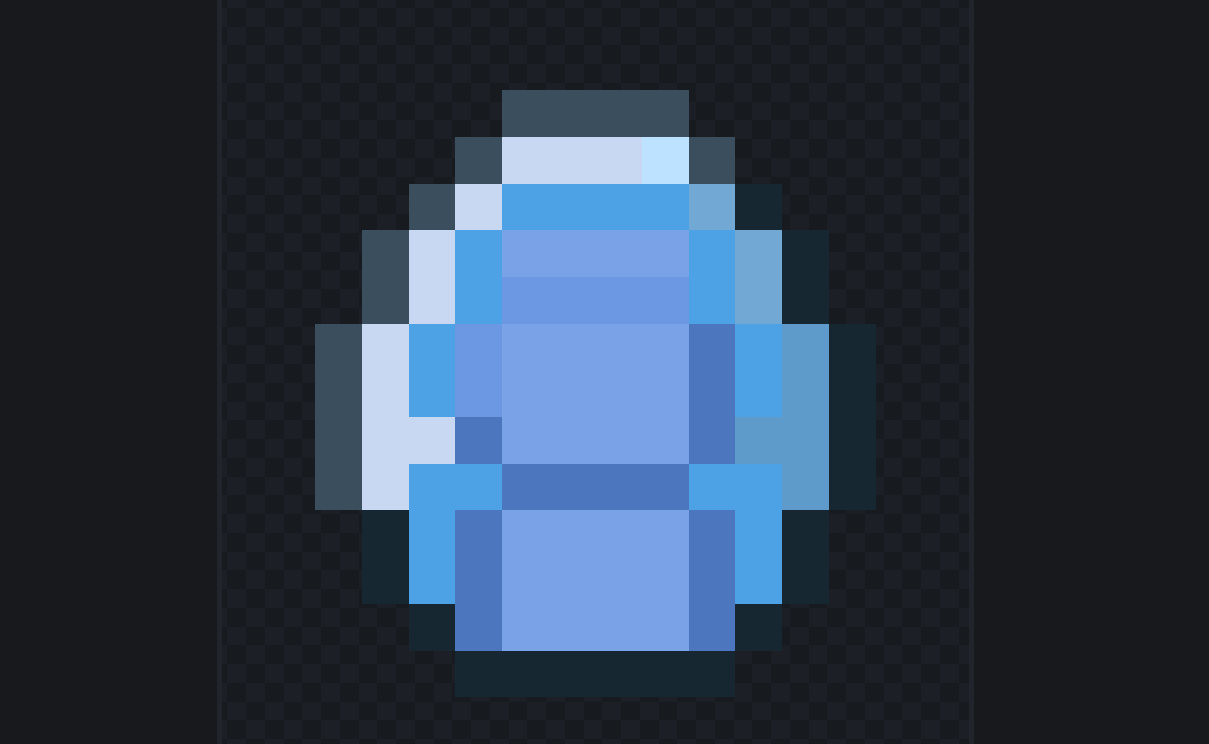
Lastly, you can add shading to your diamond. You can do many different patterns. As shown in the photo I have followed the official Minecraft diamond shading, but you can do many different types of shading.
Finishing Touches
Once you have finished your diamond, you can go back and change any aspect of it. You could change the style, the color, the shading, and more. In the slideshow below, you can view some of the alternative designs I have created with my diamond.